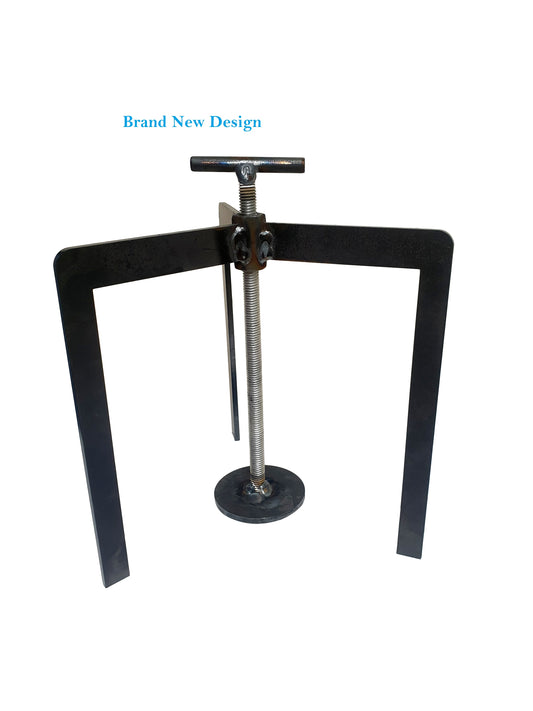
screed tripods
Floor Level Tripods for liquid Screed & Concreting
Simple tool to ensure a floor is laid exactly to the correct level. The tripods have three legs with a central screw threaded shaft at the circular disc base. The disc can be raised or lowered to set the perfect required floor level prior to the liquid screed being poured.
Please note: Unlike some tripods that ours can screw all the way down to floor level which will allow for people that are working within a very close level.
We can also make these in much larger quantities and also at different sizes if needed.
Height | Threaded Bar | Centre Disk | Legs |
200mm | 10mm | 60mm diameter | All in one piece |
How to use
- Determine the desired level of the finished floor (prior to any floor finishing being applied i.e. tiles, laminate etc.) This level is known as the datum level. You will likely take your datum level from a fixed point such as the final finished floor level or a door sill. Place a Screed tripod next to this datum point and adjust the height of the tripod disc to exactly match the datum level – ideally you’d use a laser level for this.
- Leave this tripod in position and place additional tripods throughout the area to be screeded. We recommend a spacing of 1500mm between tripods.
- Set a laser level to the datum tripod disc and then transfer this level to all of the other tripod discs in turn, adjusting the height carefully until they are all set to your datum level.
Now it’s a case of simply pouring the screed – or flowing concrete.
Pour in the liquid screed up to the level of the tripod discs, ensure that there are no high or low areas of screed between each tripod. Once the screed has been poured remove all the tripods from site. Top Tip – don’t forget to clean each tripod carefully immediately after it has been removed to prevent any screed setting on the tripod. Pay special attention to the thread which should also be lubricated periodically to ensure a longer life.